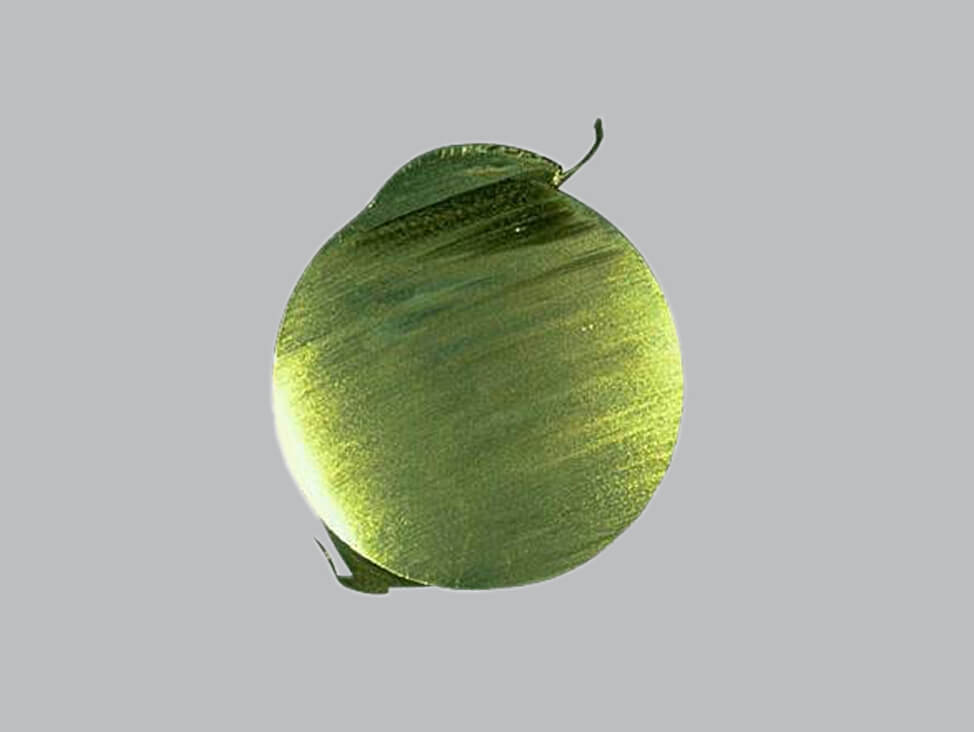
3. Improve reproducibility by avoiding cracks in brittle materials or coatings
Cracking typically occurs in brittle samples or samples with layers, and usually means the sample has to be cut again, adding extra time to your cutting process. This extra time can be avoided by following these simple tips.
Make a simple adjustment to your cutting technique
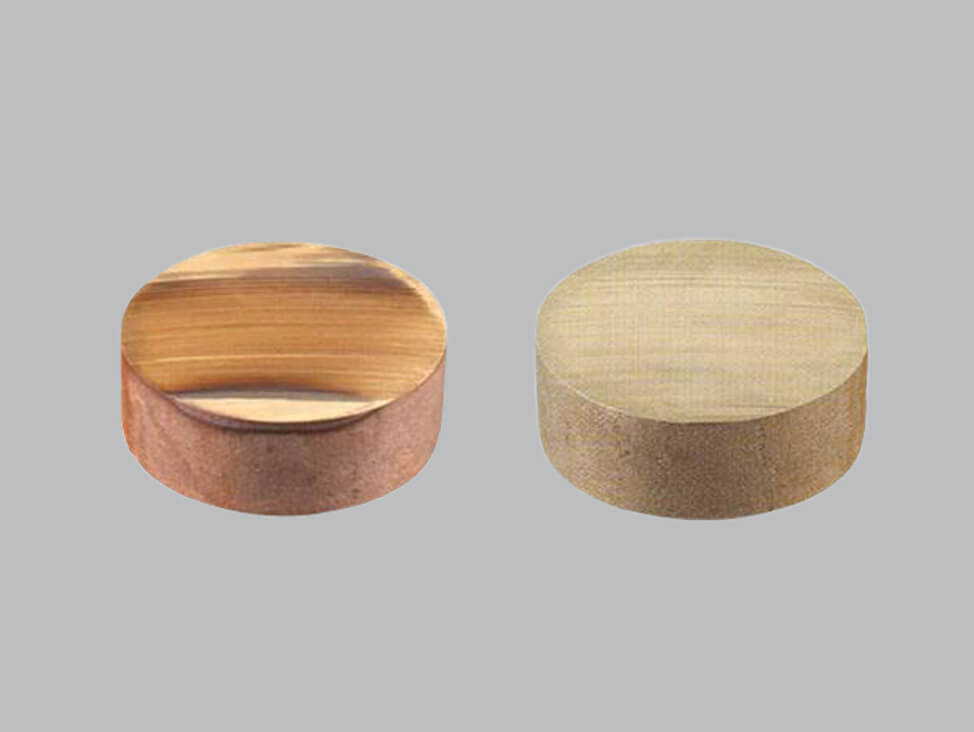
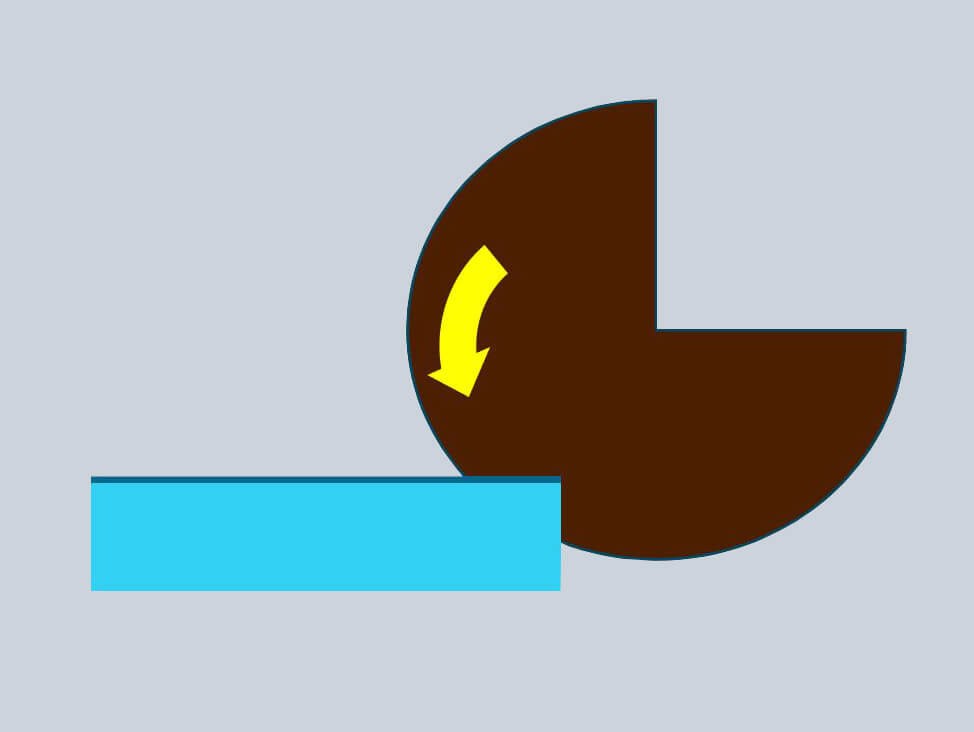
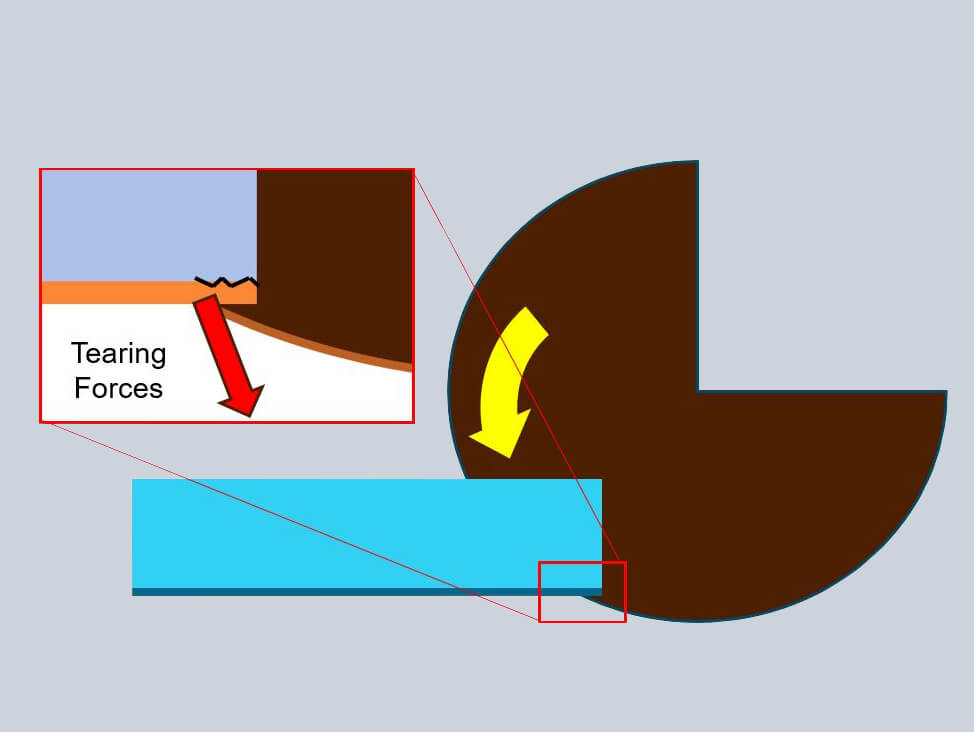
When sectioning a coated material, the base material acts as support, so always cut into the coated side of the workpiece.
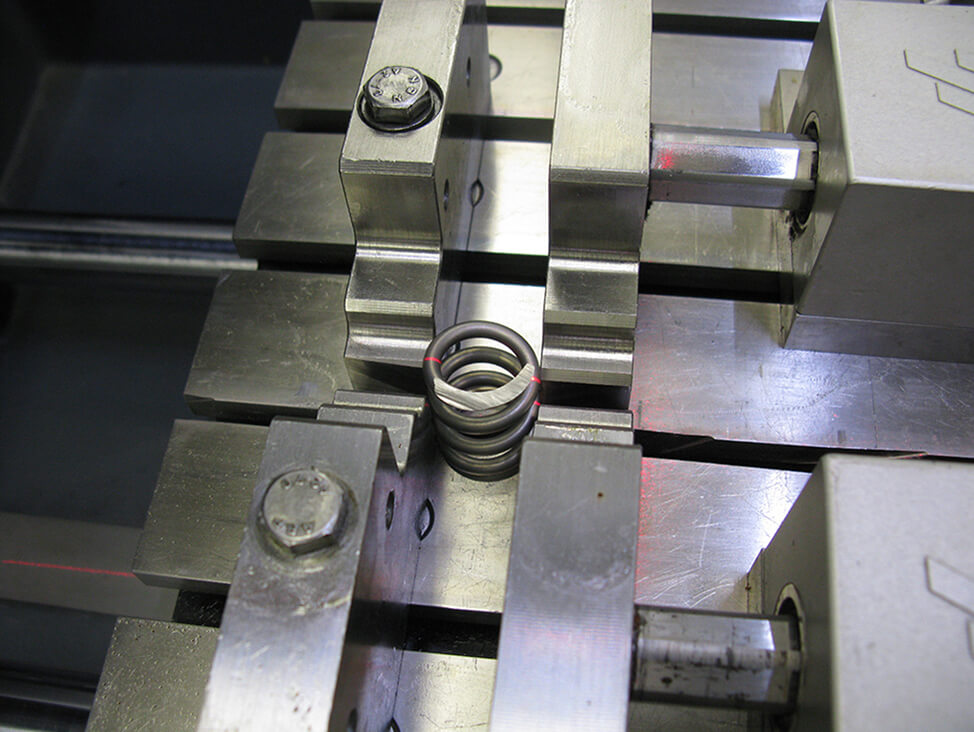
Support your material
Support is important to stop cracking. If your specimen is small enough, mount it. For extra support, apply an epoxy resin during vacuum-impregnation. This will ensure the epoxy resin penetrates all pores, cracks or openings in the coating to give it full support during sectioning.
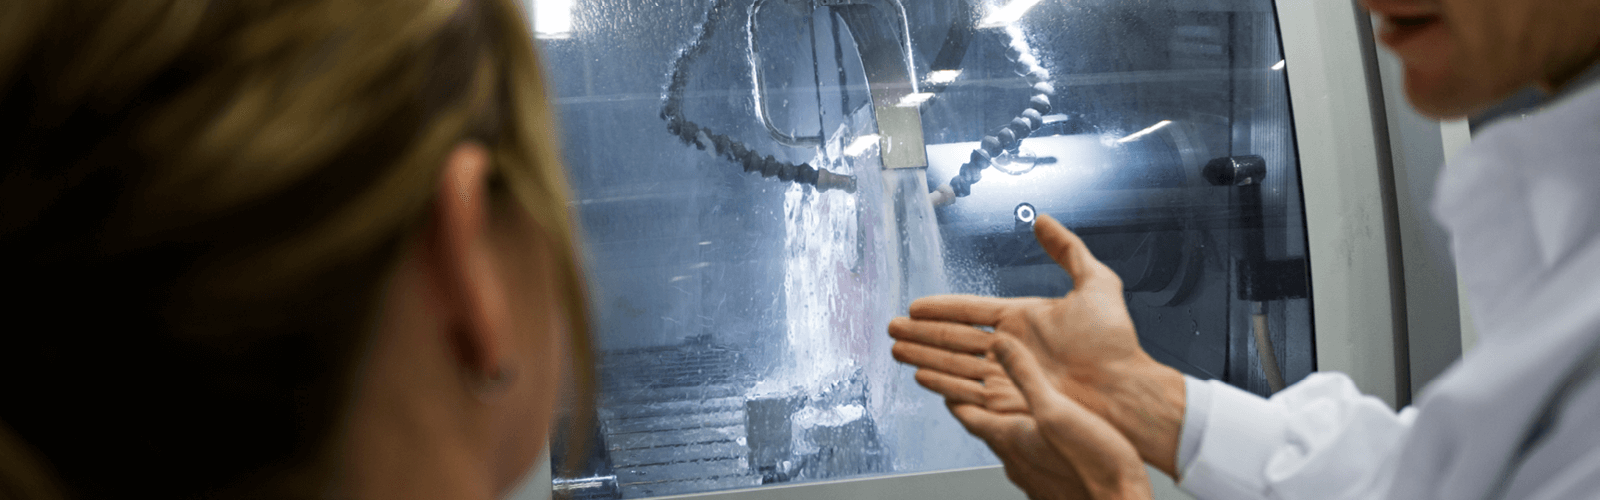
Use an automatic cut-off machine
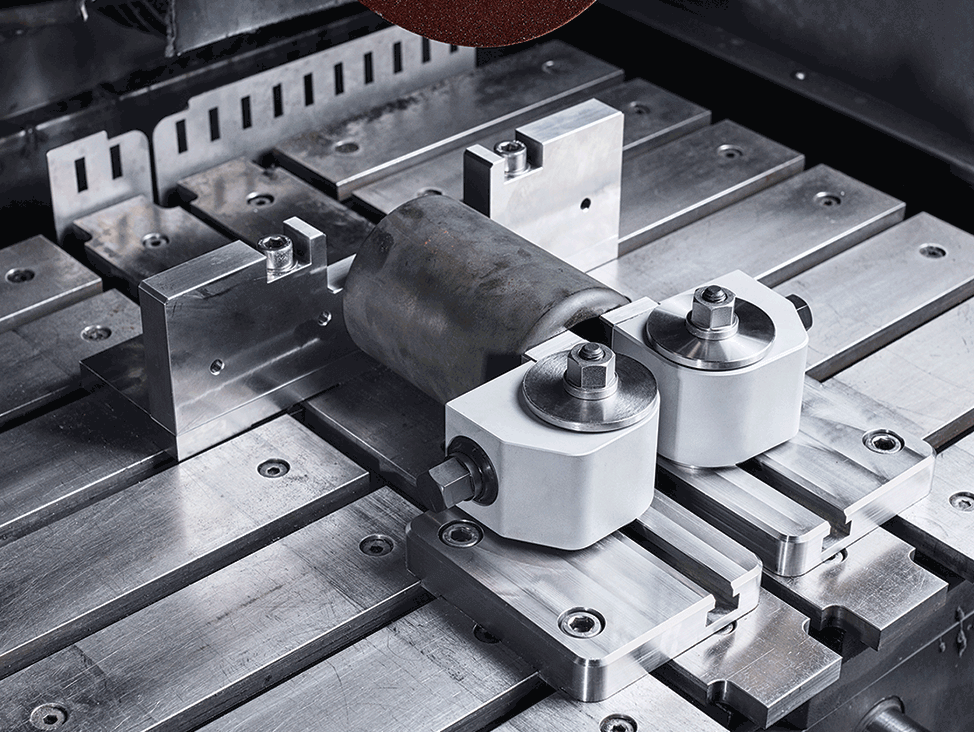
Feed speed is a common cause of cracks. It is very difficult to get the speed right in brittle and layered materials when cutting manually, so the best solution is to use an automatic cut-off machine with adjustable feed speed.
Change your cut-off wheel
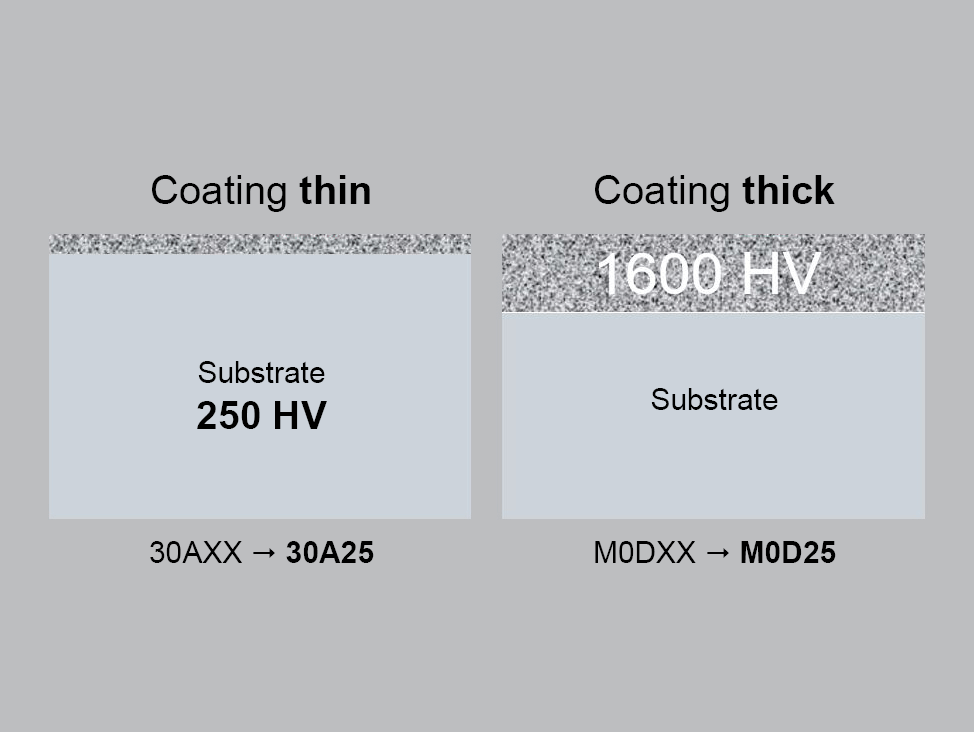
Choosing the correct cut-off wheel can vastly improve the cutting process, by reducing the need for polishing and grinding and ensuring the get the most cuts per wheel. When it comes to workpieces with coatings, if the coating is thick, choose a cut-off wheel to suit the coating; if the coating is thin, choose a cut-off wheel to suit the substrate.